Proxmox Cluster - Basic Setup
Here we are going to show you how to setup a basic Proxmox cluster. In this video I show you how to setup a basic three node proxmox cluster. You can keep scrolling past the video if you want to read more.
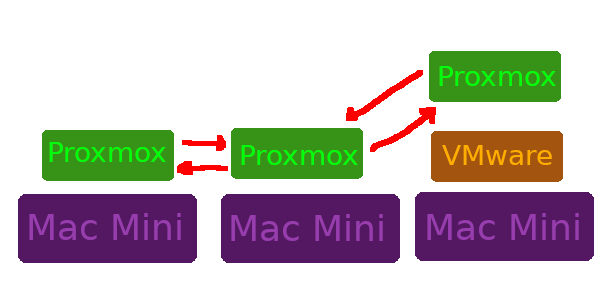
I have three Proxmox instances. Two of them are running directly on hardware ( Mac Minis ) and the third in stance is running inside a VM which itself is running on top of a third Mac Mini ( see the diagram below ). The rational behind this was that I wanted to have a third host for voting. The cluster needs an odd number of hosts to be able to reach a quorum ( break the tie when voting ). The first two instances are what I would actually be running VMs on. The third instance only exists as a tie breaker since it is has fewer resources and actually runs on top of a VM itself.
Hopefully this makes more sense with this diargram.
Steps - Proxmox Cluster - Basic Setup
Make sure that you are logged into each instance that you will want to add to your cluster before starting.
Start by going to “cluster” and clicking “Create Cluster”.
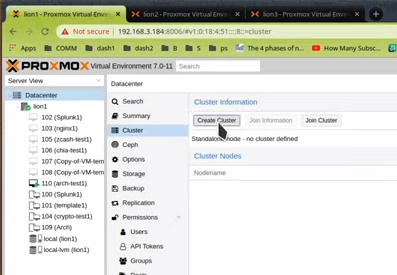
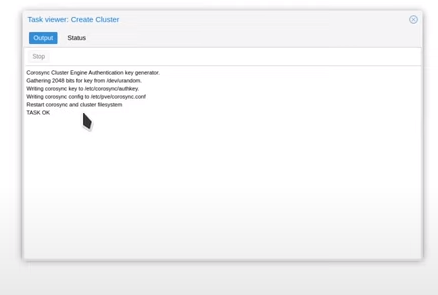
Fill in a cluster name and your network info if needed. Click “Create”.
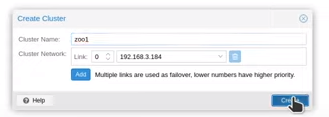
You should see output that looks like this:
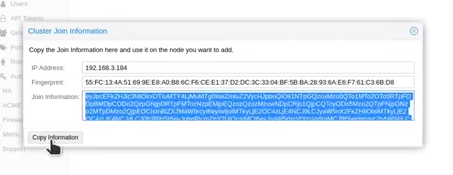
You should see one node under “Cluster Nodes”. Next you are going to need to get the join information. Click on “Join Information”. This will bring up a dialog box with the info you need.

You should see the following dialog box. Click on “Copy Information” to copy the join information.
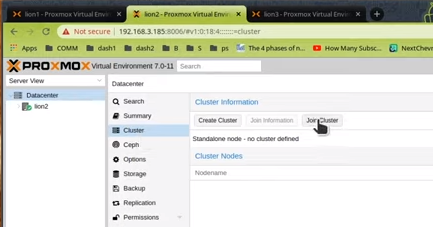
Now switch to the GUI for your second cluster node. Click on “Join Cluster”.
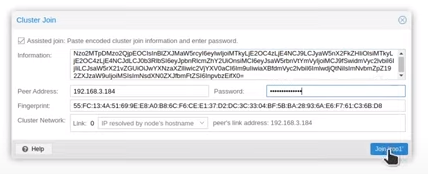
Paste the join info into the “Information” field. Most of the other fields should be populated. You will need to enter your password in the “Password” field. Click the “Join” button.
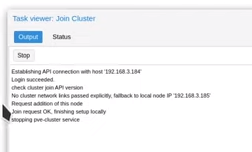
You should see output that looks like this:
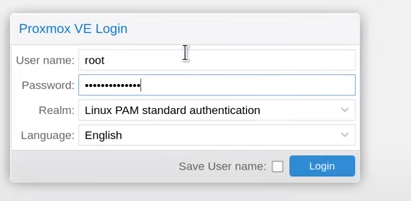
You may need to reload the page and re-login:
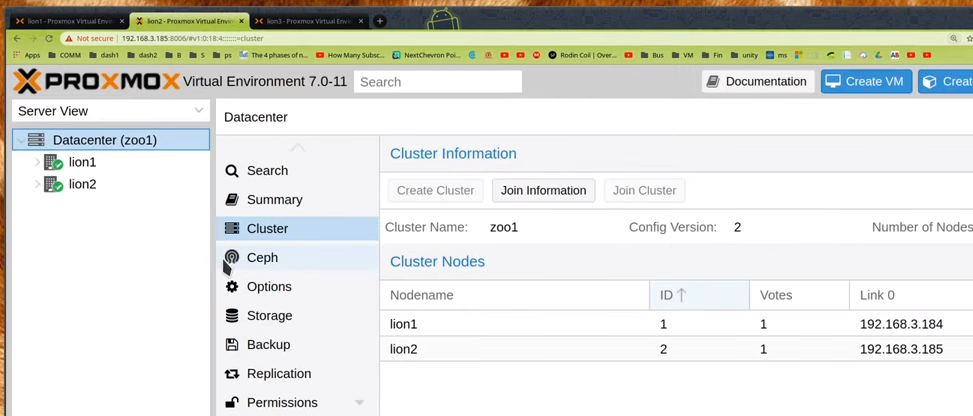
You should now see two nodes in your cluster like this:
Repeat the join steps to connect the third cluster node to the cluster using the same join information that you pasted previously.
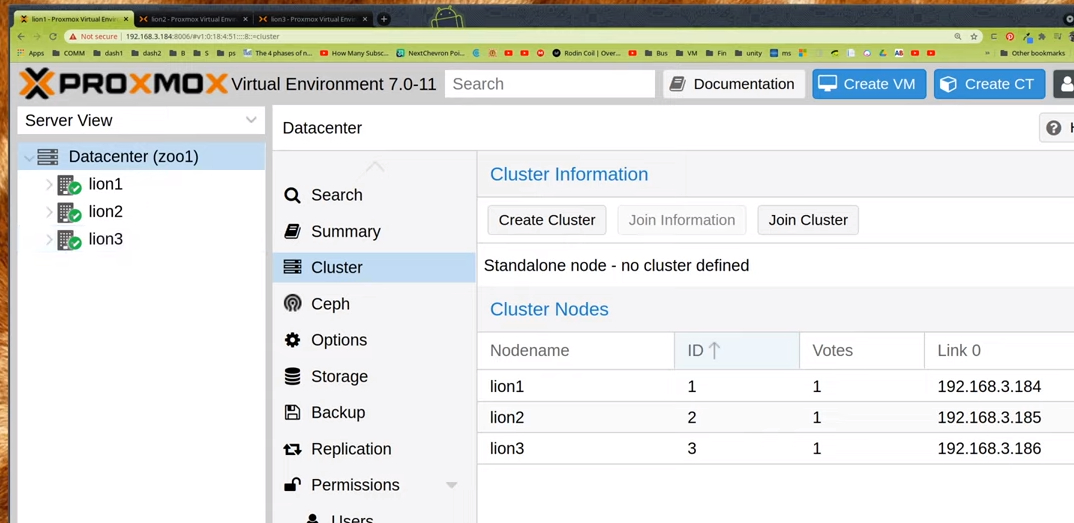
Once a node has been added to the cluster you should be able to manage it from any GUI instance. You should see all threee nodes added to the cluster now.
You should also be able to see the cluster log events indicating that nodes were added to the cluster like this.

When you add a node to the cluster, the GUI for that node may need to be refreshed and you may need to re-login like this.

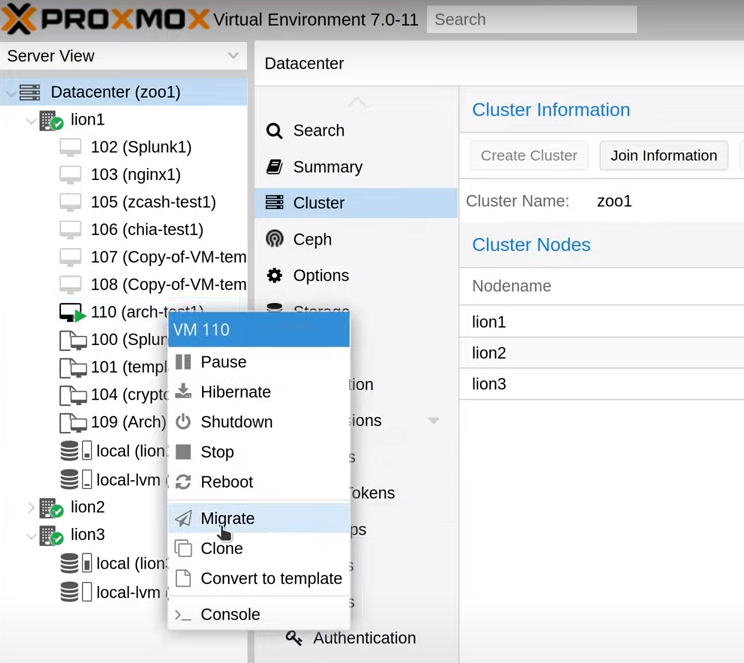
Now that our cluster is setup we can try to live migrate a running VM. Start by right clicking on a VM and select “Migrate”.
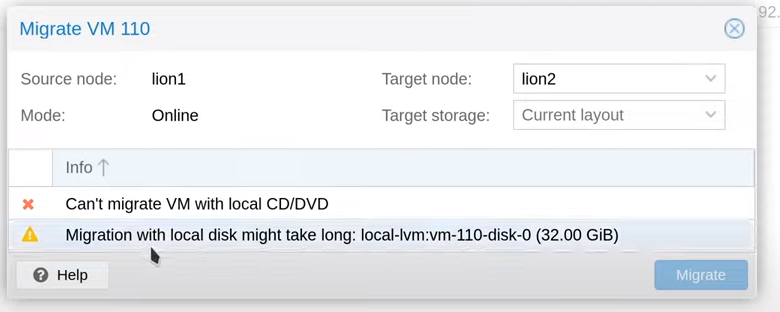
If a CD ISO image is still connected to the VM you may see an error like this. You will need to remove it first.
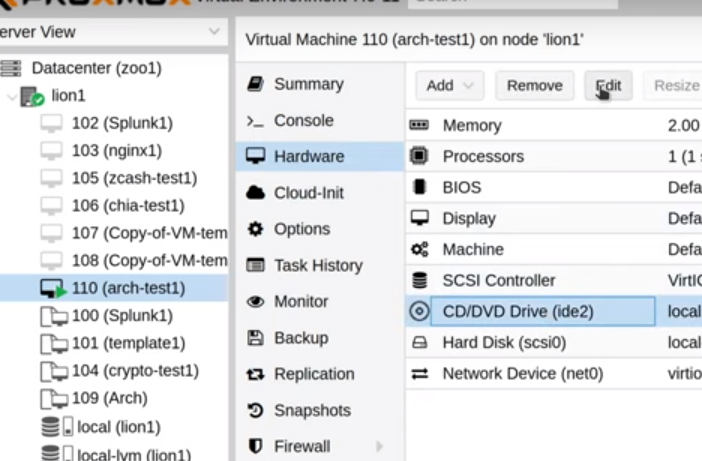
Got to “Hardware” and Select “CD/DVD Drive”. Click the “Edit” button.
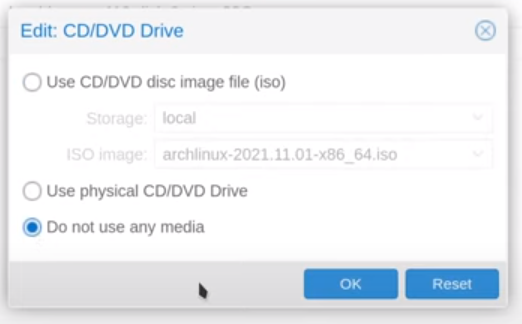
Select the “Do not use any media” radio button.
You can now re-try the migration. Right click the VM and select “Migrate”. You should now see a dialog that looks like this. Click the “Migrate” button.
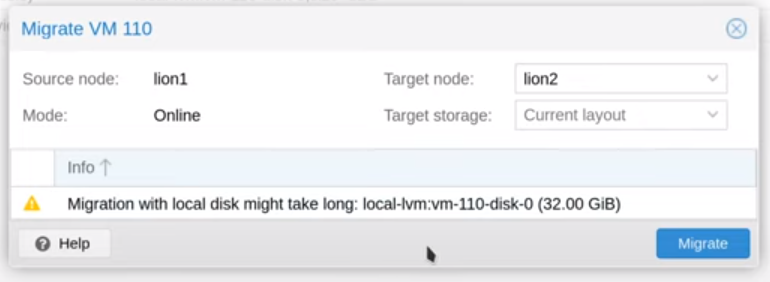
You should see output like this. It may take a while to complete.
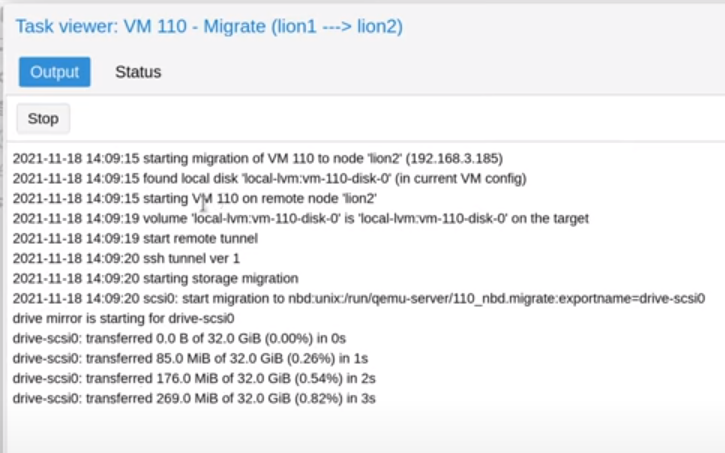
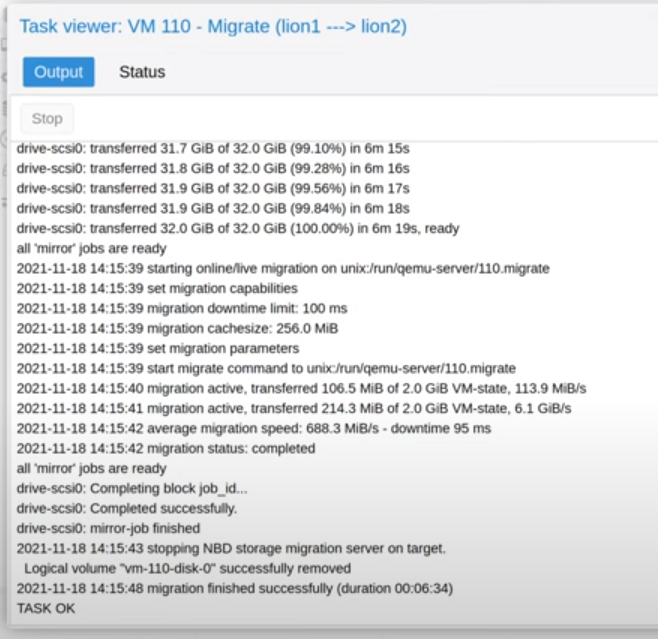
Once it is done you should see output that looks like the following.
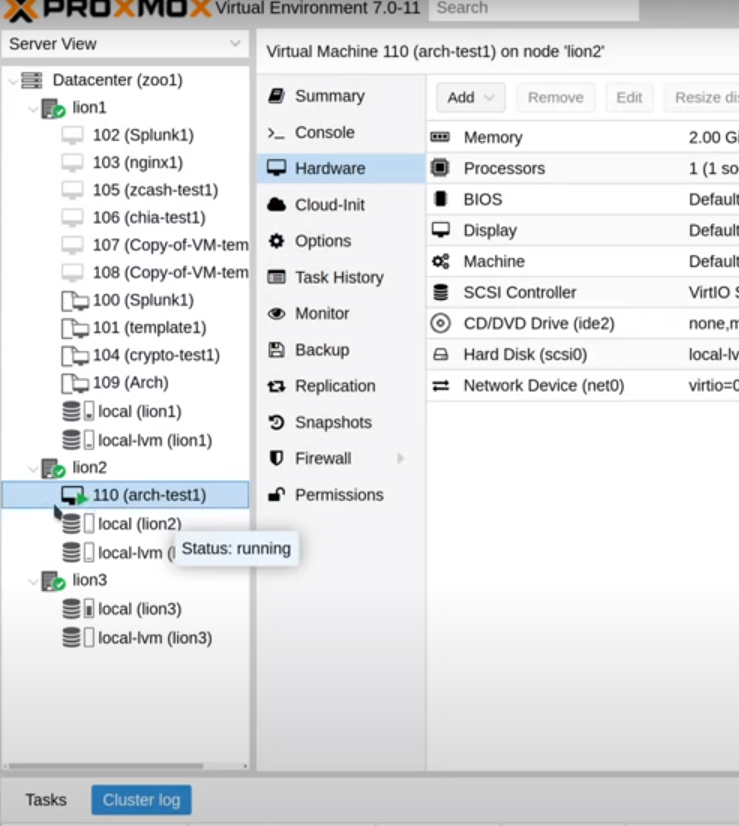
We now see that our virtual machine has been moved to another node in the cluster and that it is running.
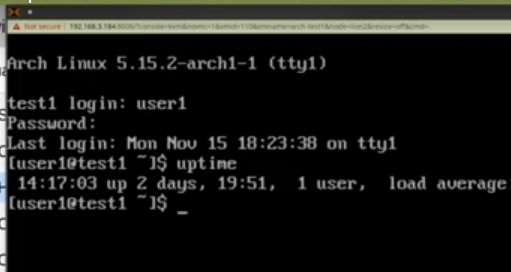
If we check the console and login we can see that the uptime for our VM is two days in this example. This shows that we were sucessfully able to migrate our VM without it being shutdown or restarted.
