Ubuntu Server in Virtualbox
In this guide we are going to install Ubuntu Server in Virtualbox. Note that we will be installing the server edition and NOT the desktop edition. Because of this the instructions and experience will be a little bit different. Since this is the server install, the installer show runs in text mode instead of providing the nice, pretty GUI installer that we would have if we were installing the desktop edition.
Getting Started
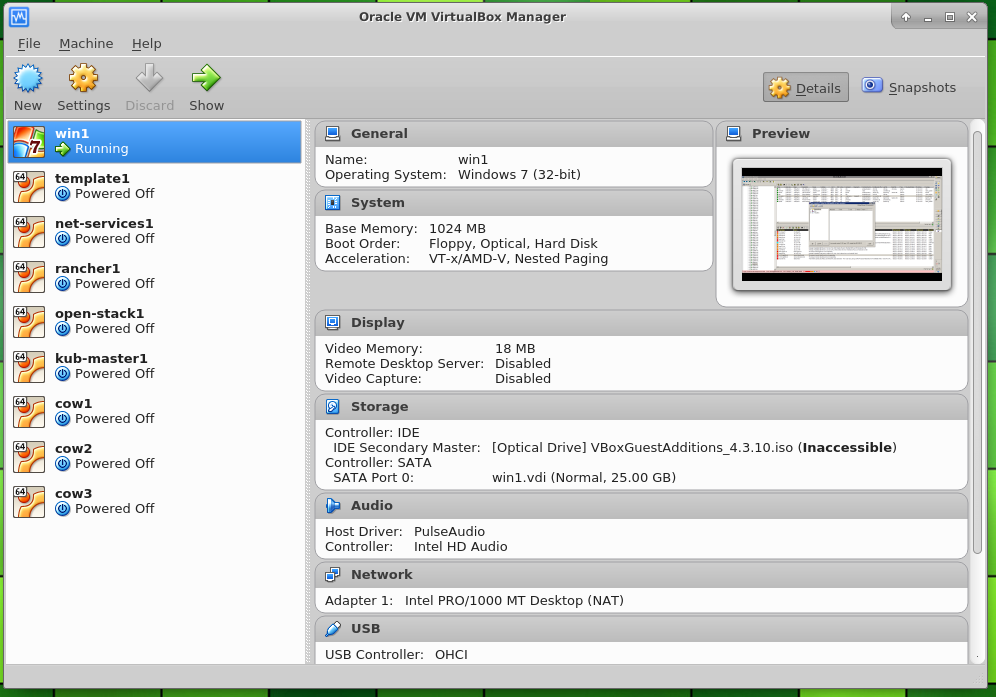
We start off by opening up VirtualBox Manager. In the screenshot here we see the GUI on initial startup. I have a few VMs already installed. They are listed in the left panel. The first thing you are going to want to do to create a new VM is click on the button labeled "New".
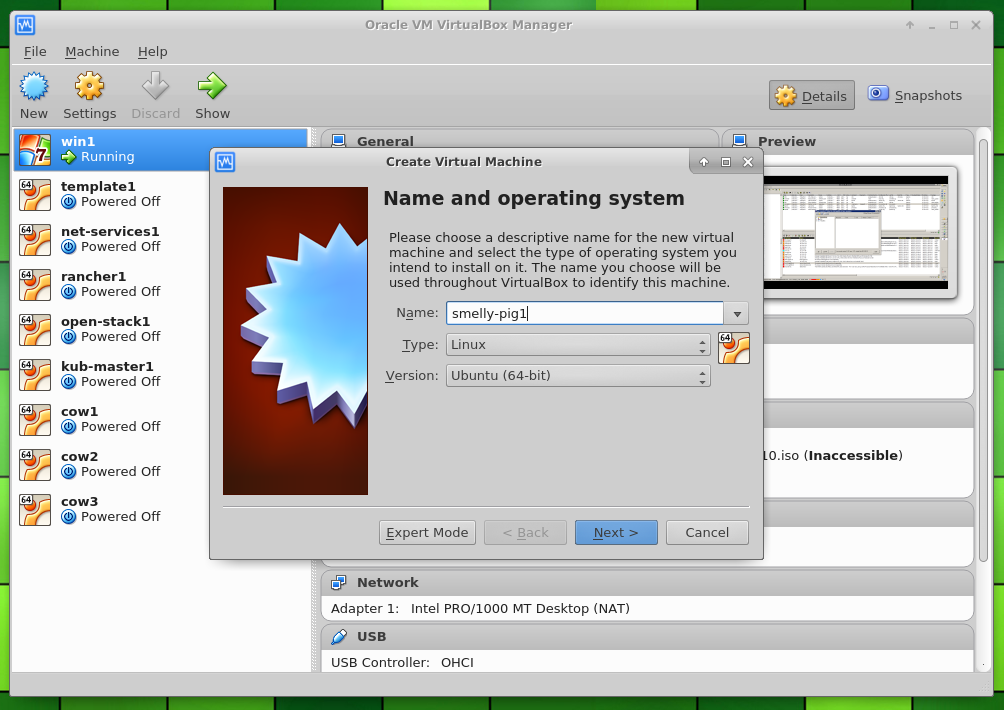
After clicking on "New", you will see the "Create Virtual Machine" dialog pop up. This gives you the option to name the virtual machine, select an OS type, and select an OS version. For this example, of course, we choose "Linux" and "Ubuntu (64-bit)". If you are creating some other type of VM you are going to want to change these but this tutorial is all about Ubuntu and Virtual box so we are going to stick with these. Click "Next" to move on to the next set of options.
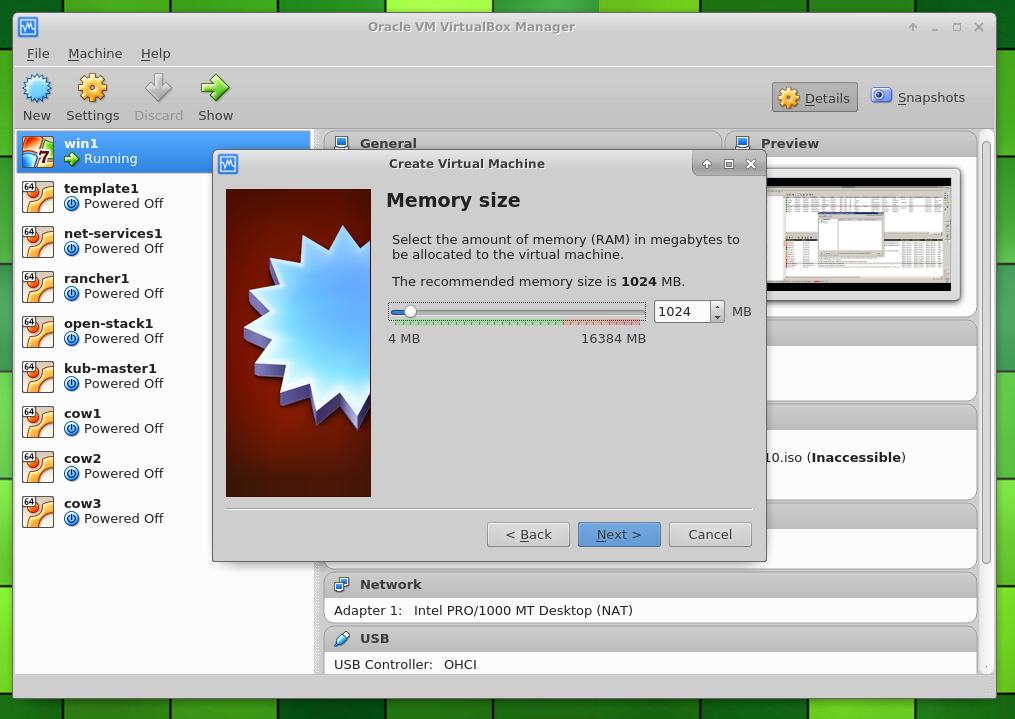
Here we have the memory settings for our Ubuntu VM. You can use the slider to increase or decrease the memory allocated to the VM. If you prefer to just type in the amount you want, you can just fill in the number of MB in the text box to the right. Also, you can use the up/down arrows to increment or decrement this. Note that the text above these controls suggests that the recommended memory size is 1024 MB. This is actually pretty reasonable. You could go for less, if you really, want to and you are careful to conserve resources. You could also set it to a higher value if you know you will be running services that require more RAM. If you aren't sure, it is best to just stick with the default in this case. You can always change this later if you need to. Memory is easily configurable after the VM has been built. Click "Next" to confirm your settings.
Here we are going to configure the hard disk. You have three choices. The first one is "Do not add a virtual hard disk". Don't choose this. There might be some use for it, if you were just creating a template or something but I haven't ever had a need for it. Also, it is out of the scope of these instructions. The second option "Create a virtual hard disk now" is the one you want for this example and in any instance where you are just creating a brand new VM from scratch. Also, there is a third option entitled "Use an existing virtual hard disk file". This is out of the scope of this tutorial but is worth mentioning. It will allow you to use an existing hard disk in case you already have one created or if you moved one over from another machine or something. Click "Create" and move on to the next step.

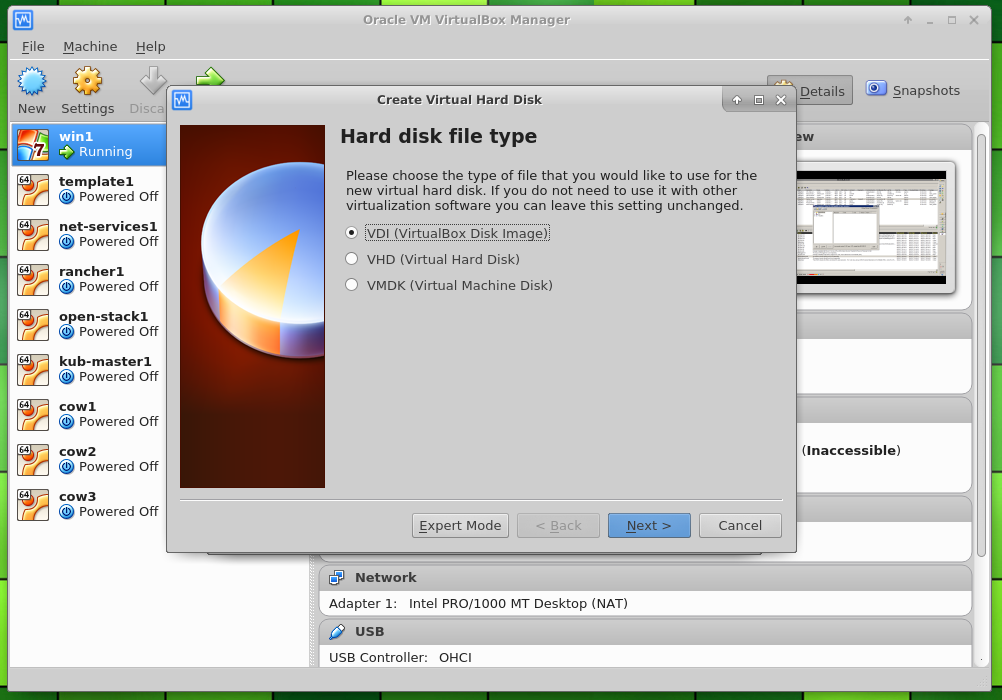
Now we get to choose the hard disk type. The short answer is that you are just going to select the first opion (VDI) and click "Next". VDI (VirtualBox Disk Image) is that native format for virtual box. VHD (Virtual Hard Disk) is the format originally created for MS Virtual PC. VMDK (Virtual Machine Disk) is the format created by VMWare. The alternate options are great if you want to be compatible with these other products.
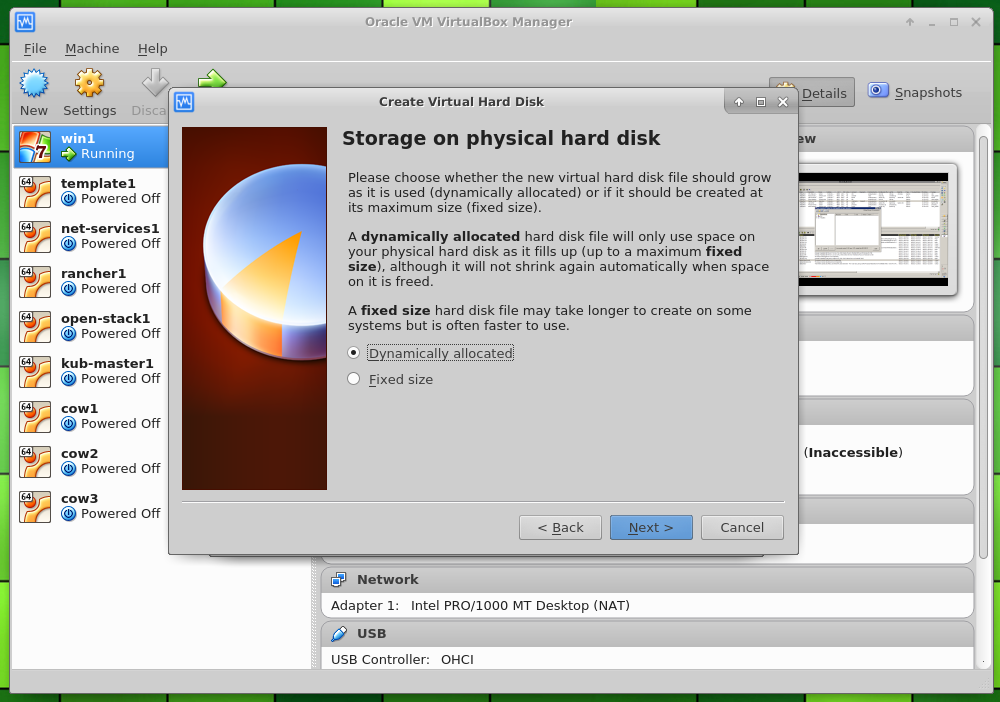
Here, we get to choose how storage is allocated. We can choose between dynamically allocated and fixed size. Fixed size will allocate all of the space needed for the hard disk regardless of whether or not the FS actually uses it. For example, if you allocate an 8 GB disk but your filesystem only uses up 6 GB initially. The file created for the VDI file will still take up the entire 8 GB. The dynamically allocated option will only allocate what is needed and then allocate more later as the FS grows. For example, if you allocate an 8 GB disk, but only 6 GB is used initially, the VDI file will only be 6 GB in size. It will grow later as needed. This gives you more space initially and only uses what is needed but creates a potential case where multiple VMs could use up all disk space before each individual VM uses its allocated disk space. It doesn't guarantee that a certain amount of space is reserved like the fixed size option does.
I usually select Dynamic. Once you have made your selection, click "Next" and move on.
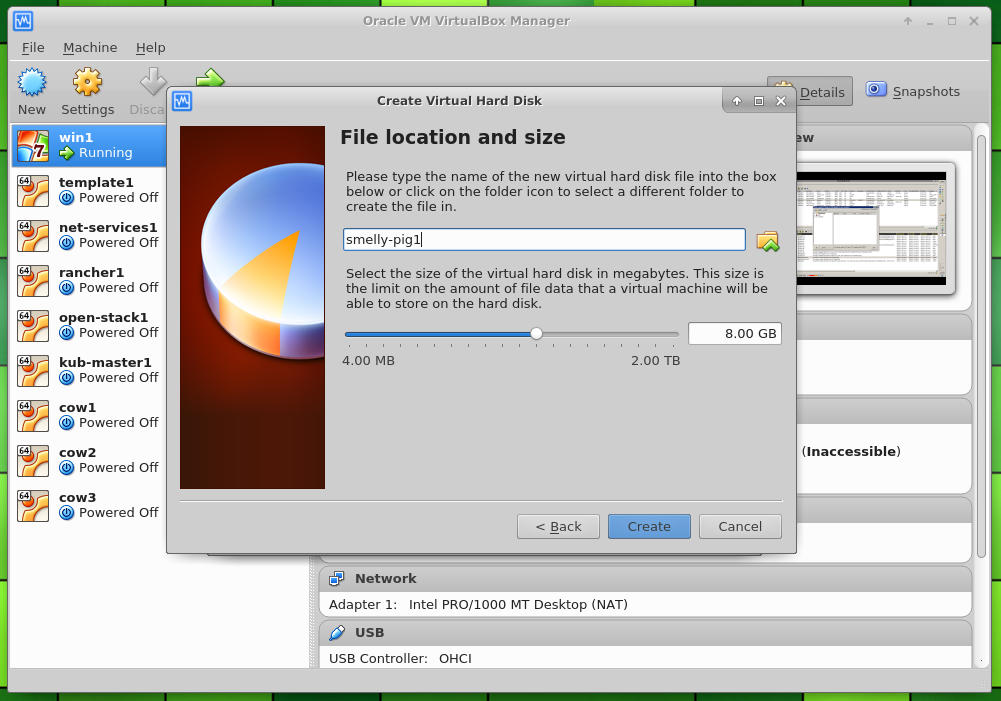
Next, we have the option to name the disk. You can pick any name you want but something descriptive that matches the VM name is usually best. Note that there is a little folder icon just to the right of the text box for the name. Clicking this would allow you to select an alternate location to store the file for the virtual disk. You can just leave it set to the default and the disk will be located in the same directory as the virtual machine.
Below this we have a slider that lets us configure the size of the disk. There is also a text box allowing you to just type in the number if you like. The current default for Ubuntu is 8 GB and this is completely fine for a base install. You may need more if you have specific application requirements. If you don't allocate enough hard disk space you can create and add an additional disk later. This would require you to format and mount that disk over the desired directory. There are ways to resize a virtual box disk later if you need to but it takes a little effort. Once you are done here, click "Create" and the machine should be created.
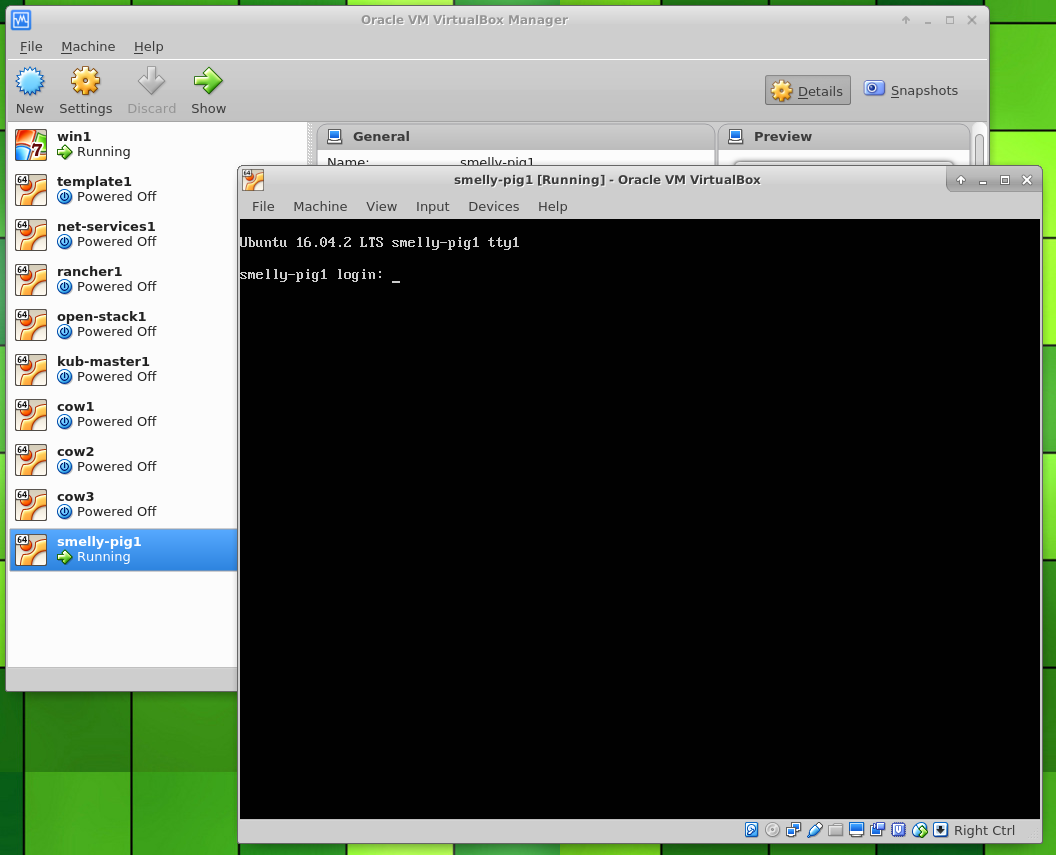
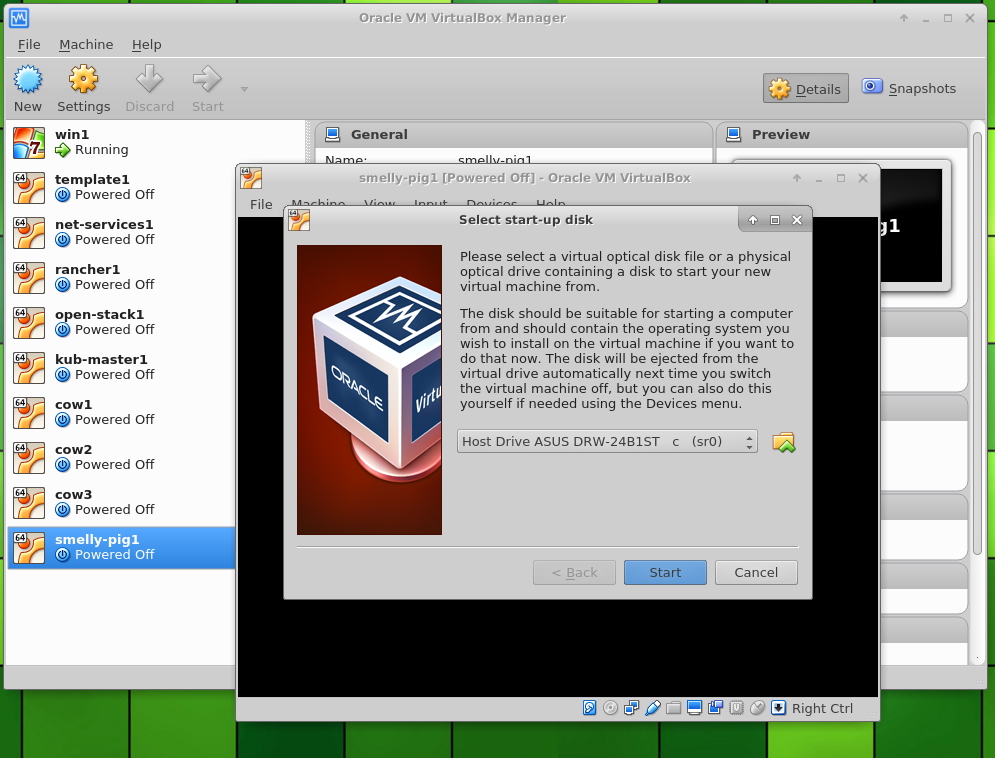
Here we see our newly created Ubuntu Server VM in the list of available VMs. Just right click on the VM and select "Start". This will power on the new VM.

Initially, there will be no bootable devices. The machine will not be able to boot up yet. Virtual Box will recognize this and display a startup disk selector dialog. If you happen to have a physical CD, you could just stick with the default. Chances are, you don't. You probably just have the ISO image freshly downloaded Ubuntu. This is fine because installing directly from the image is the preferred method. Click on the little folder icon to bring up a file selector window.
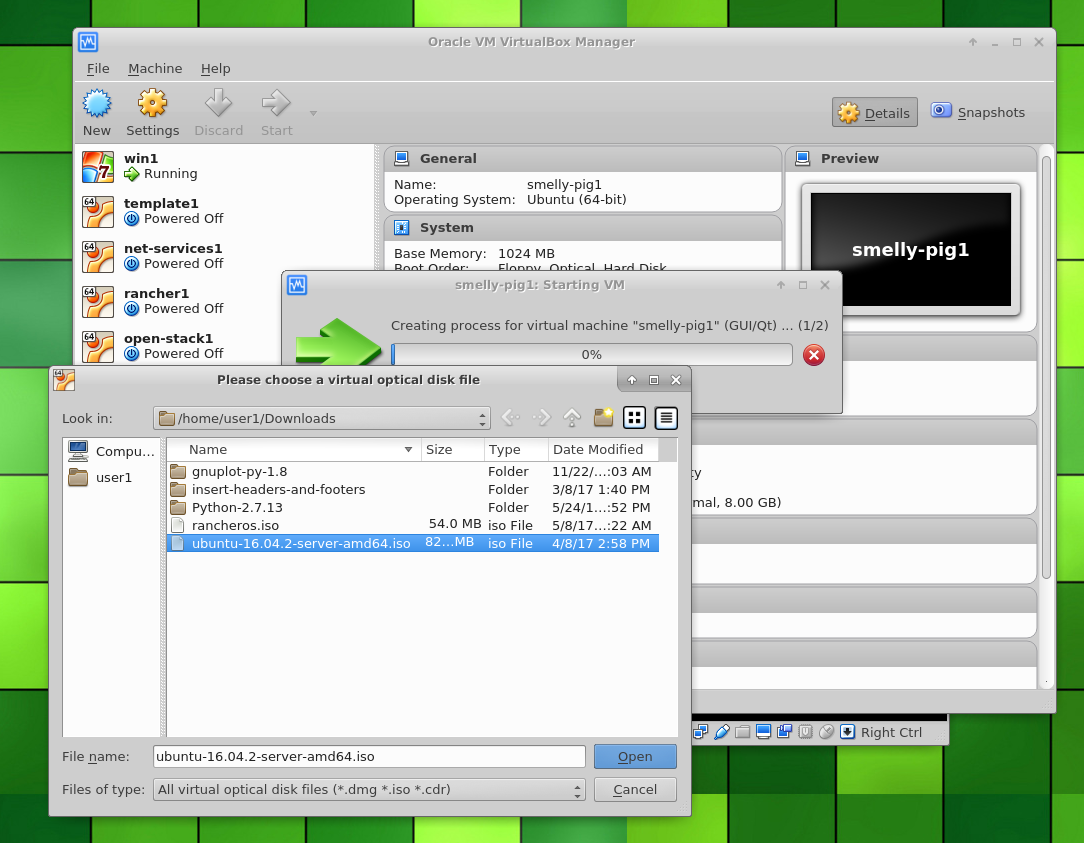
We now have a file selector window. From here, we can select our ISO image file, wherever we may have placed it. In this example, we just kept the image in the Downloads directory. Once you have navigated to the file and selected it, just click "Open". This will open the disk image and boot the system using it.
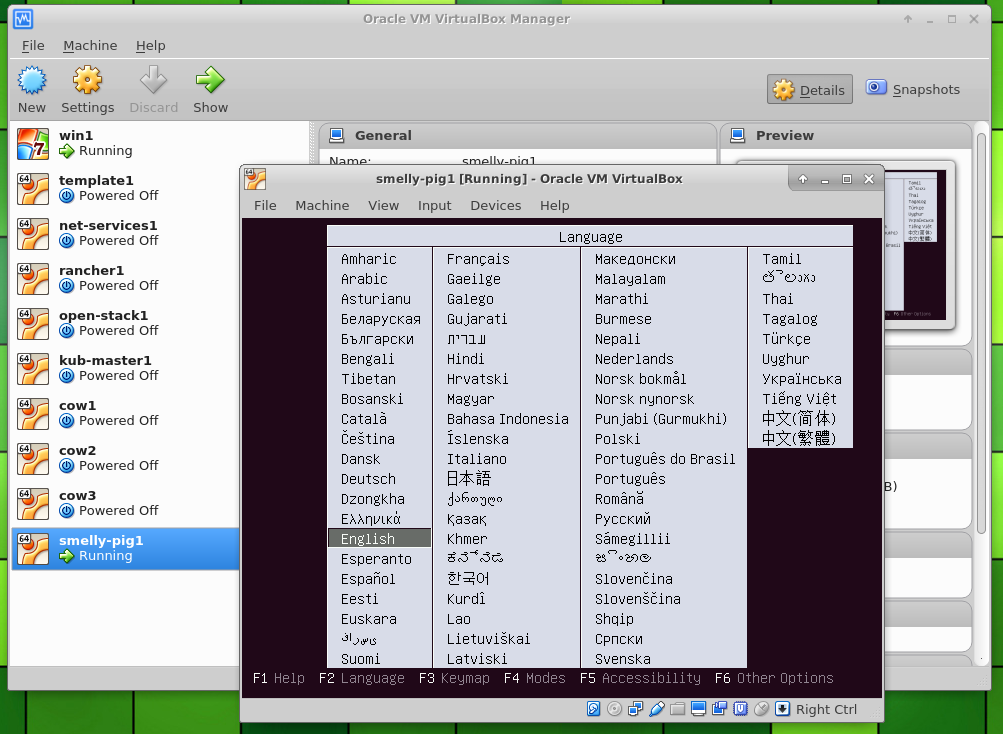
No are now starting the actual Ubuntu installation process. Remember, this is for Ubuntu Server, not the desktop system so it runs in text mode. After starting up, we will first be left at the language selection dialog. Select English and press enter, unless you prefer something else but if you do choose something else it probably won't match the rest of this guide.
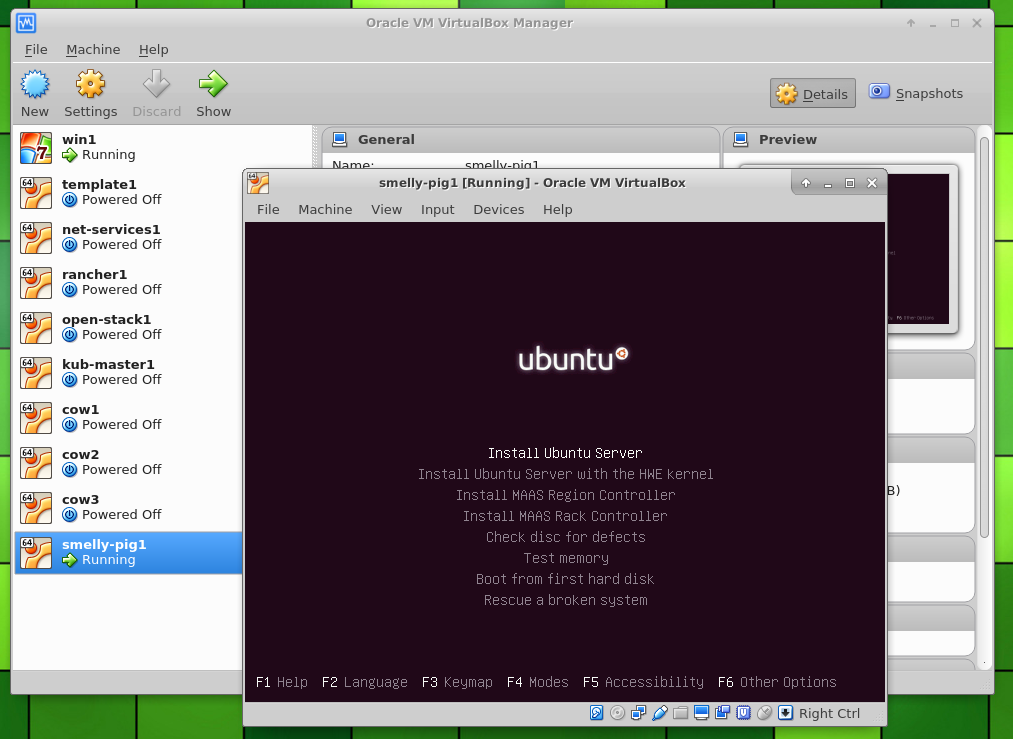
For this next menu, we just select the first option "Install Ubuntu Server". This is our objective, just to perform a basic Ubuntu server install. The other options are totally out of the scope of this tutorial.
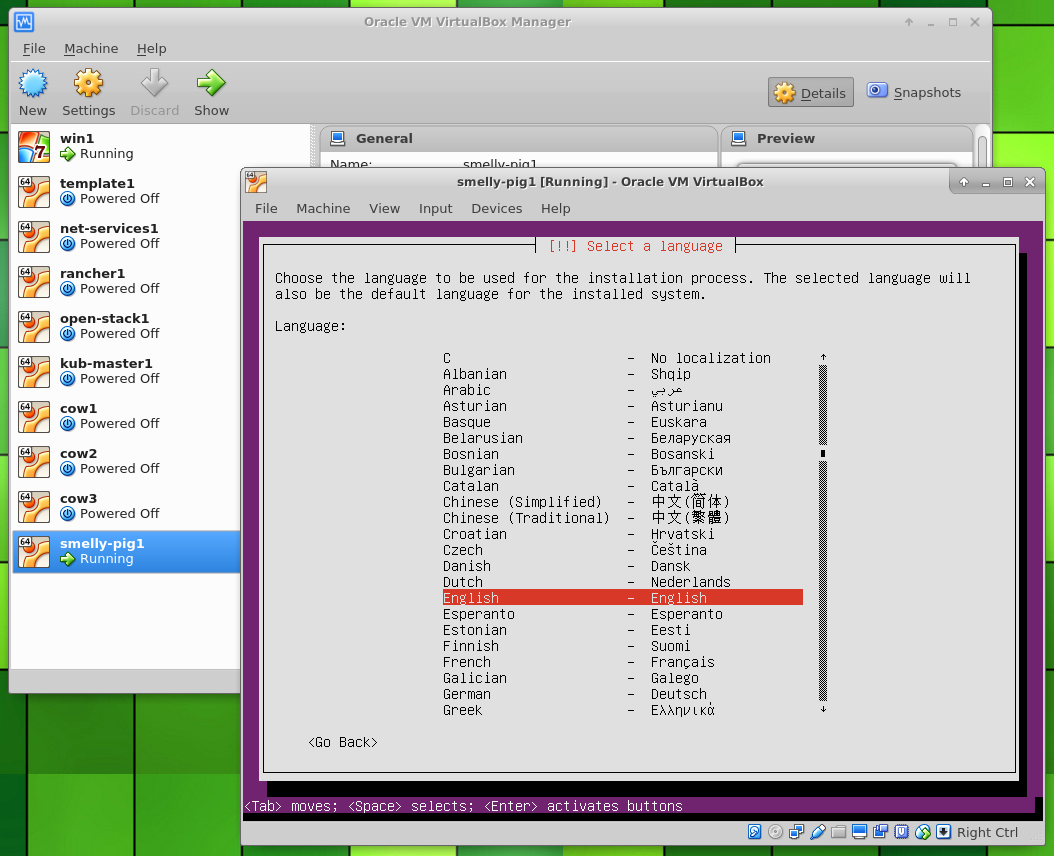
Select the language again.
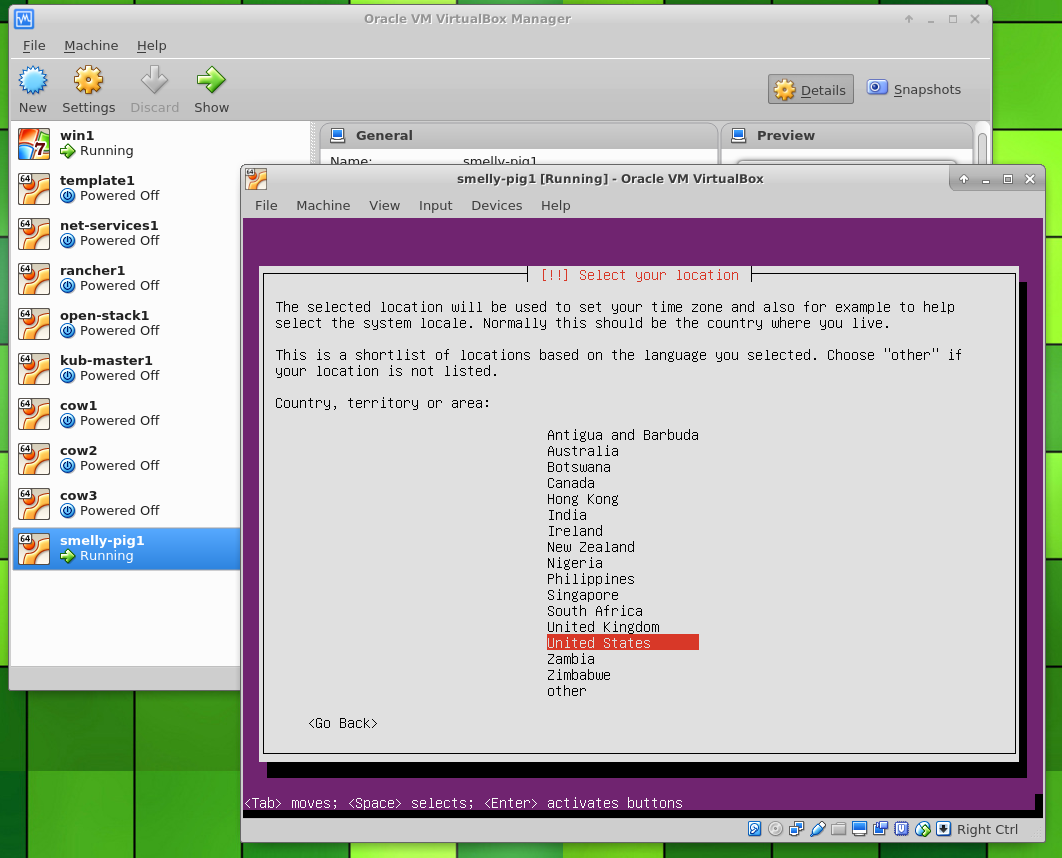
Select your location from the list and press enter. We choose United States for this demo because that is where we are. You can select whichever location matches you are or just stick with the same choice we made.
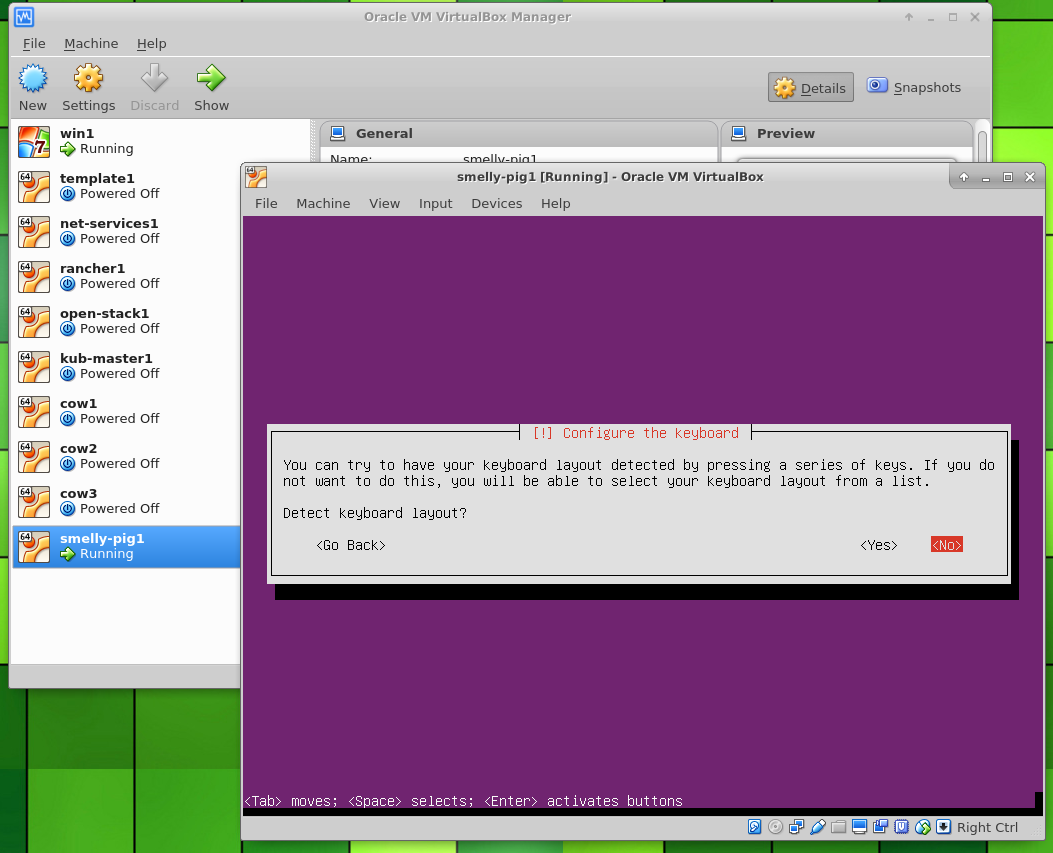
Next, you will be asked if you would like to detect keyboard layout. If you have a strange keyboard or have had trouble with your keyboard you might want to select "Yes". If you have a normal keyboard you can just select "No" and just move on to the next step. I usually select "No" because I have a normal keyboard and this is completly unecessary for me.
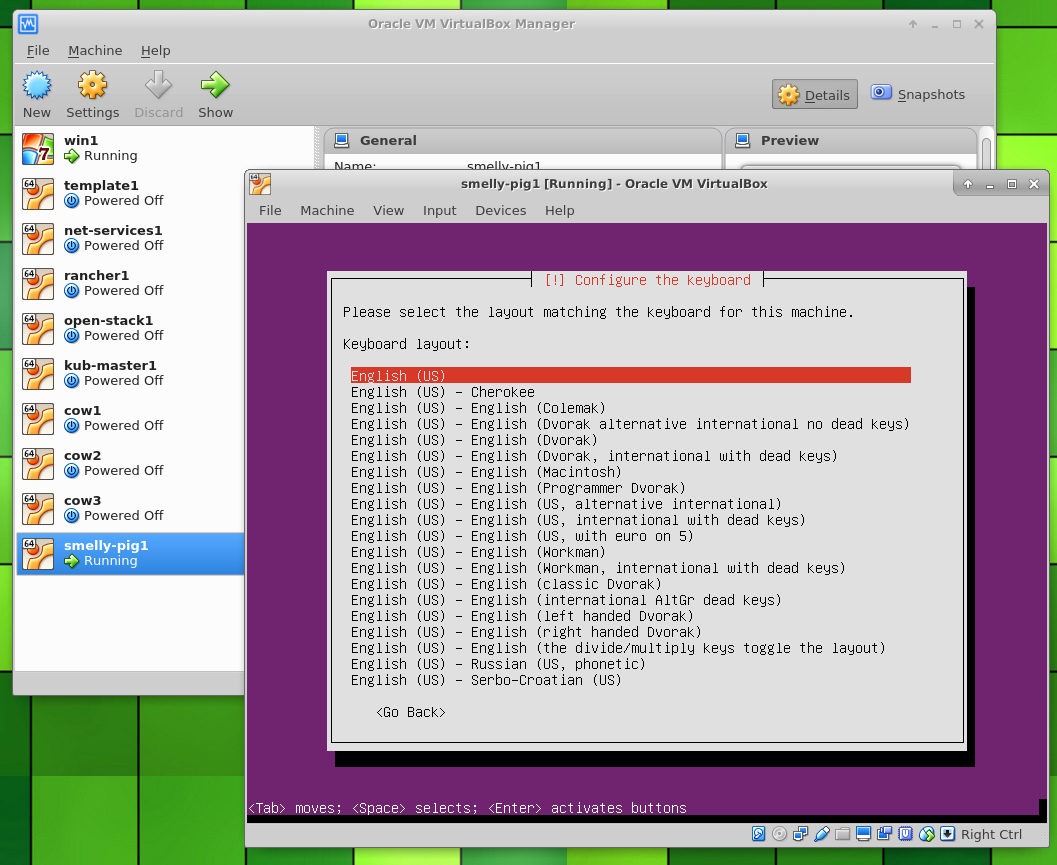
Now you are going to have a chance to select the Country of origin for your keyboard. I've selected "English (US)". You should select whatever most closely matches your keyboard.