Ubuntu Server GUI
Looking for instructions for installing an Ubuntu Server GUI? You’ve come to the right place.
Quick Answer: Just run this:
sudo apt-get update
sudo apt-get install -y xubuntu-desktop
Ubuntu Server With GUI
Normally, a server would run without a GUI or desktop. Servers generally just run in text mode since they aren’t meant to be used as desktops. You aren’t meant do work on them. They are meant to sit there and run services.
Ubuntu Server works this way by default. Even the installer runs in text mode. Once the server is installed and setup, it runs completely in text mode. You would typically interact with it using a shell running over SSH. Some people may not agree with this and would prefer their Ubuntu server systems to have a GUI.
Ubuntu Server Install GUI
The good news is that if you want to install a GUI on Ubuntu Server, you can. It isn’t that hard to do either. It is as easy as installing any other piece of software. There are actually a lot of options available for running a desktop too. We are going to show you how it can be done and show you what your options are.
Ubuntu Server Install Desktop
If you are going to install a GUI on Ubuntu server, you will have to chooose which desktop you want to run. You could use some thing simple like XFCE or something more intensive like KDE. You may want to just install the basic desktop system or you may want ot add a bunch of graphical tools and utilities.
Ubuntu Server GUI
Why run a GUI on a server? There are a few reasons. Some server software actually requires a GUI installer to setup. I think this was the case with Oracle last time I tried it. Some people just want the ease of using a GUI. Some people aren’t very comfortable using a text only environment. It isn’t that uncommon for people to rely on graphical administration tools. You might have a beginner who just isn’t familiar with the command line but who is happy poke around with a GUI and set things up. Even people who do know how to get things done on the command line sometimes prever using a GUI for certain things. Also, you may just be running a dev server and you want it to double as a remote desktop. Whatever your reason, there are complely legitimate reasons for wanting to do run a desktop on a server. Normally, in most cases, it isn’t recommended though.
Video Instructions
XFCE Method 1
This first method for installing XFCE is to install the package “xfce4”. This will give you just a basic desktop with almost no applications installed. It doesn’t even come with a web browser. For a lot of people, this is exactly what you would want. If you want to get these apps the easy way and don’t mind having extra stuff, skip ahead to XFCE Method 2.
- More trimmed - good for a server
- More flexible - only choose what you want
- No XDM, Need to start X Windows manually
- Faster install
- Need to install a lot of stuff manually
Basic Desktop
Here is how you actually install it. You only need these two commands to get the basic desktop installed.
sudo apt-get update
sudo apt-get install -y xfce4
The install ( second command ) took me a little over 2 minutes to run. It is relatively fast.
The first thing to note about this method is that X Windows doesn’t start up automatically on reboot. It still runs in text mode. If you want to startup X Windows for a graphical desktop environment, you first login, then launch X Windows manually like this:
startx
What You Get
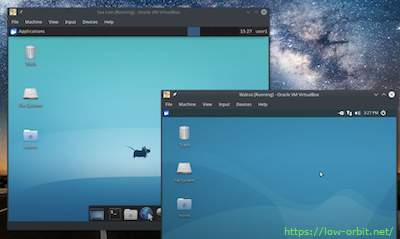
This will get you into a basic XFCE Desktop.
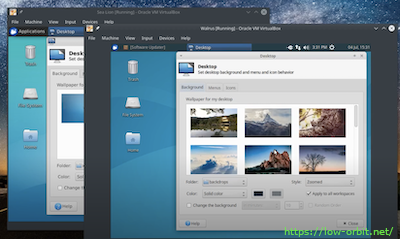
If you want to change the wallpaper, you only have 2 wallpaper options to choose from. This is not a big deal as you can just download whatever you want really easily but it does show how little is included.
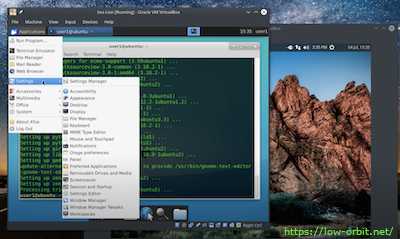
You will notice that you have a very basic application launcher menu and that very few applications are installed.
- no media player of any type
- no office
- no graphical text editor
- just a basic xterm ( no Gnome Terminal or XFCE Terminal )
Note that you will have a web browser launcher but it won’t work because no web browser is installed by default.
Stuff You May Want - Pick and Choose
Here are some basic tools and utilities you might want to install. You might want to start out with Gnome Terminal, Gedit, and FireFox. This will give you a nicer terminal, a basic text editor, and a web browser. You could just as well use XFCE Terminal or Mouse Pad instead of Gnome Terminal and Gedit.
apt-get update
apt-get install -y gnome-terminal
apt-get install -y gedit
apt-get install -y firefox
NOTE - After installing FireFox, the generic web browser launcher on your launcher bar will now launch FireFox.
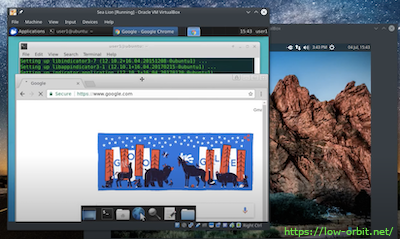
Google Chrome
OK, so there is a good chance that you might want Google Chrome. Both FireFox and Chrome are great. We aren’t here to tell you which to use but we are here to give you the options to pick what you want.

Niether this method or the other XFCE install method will give you Chrome.
Chrome will take a little bit more effort to get installed. It isn’t just one apt-get command. We first need to add the repo to your system before we can install.
Ubuntu Chrome Install - Step 1
Add the signing key:
wget -q -O - https://dl-ssl.google.com/linux/linux_signing_key.pub | sudo apt-key add -
Ubuntu Chrome Install - Step 2
Add the repo:
sudo sh -c 'echo "deb [arch=amd64] http://dl.google.com/linux/chrome/deb/ stable main" >> /etc/apt/sources.list.d/google-chrome.list'
Ubuntu Chrome Install - Step 3
Install the package:
sudo apt-get update
sudo apt-get install -y google-chrome-stable
Not that if you make Chrome your default browser, Chrome should actually launch from the same launcher that used to launch FireFox.
Libre Office
I can’t think of a good excuse to put an office suite on a server but there probably is one. Either way, here is how you would do it. It is super easy.
sudo apt-get install libreoffice
XFCE Method 2
The second method for installing XFCE is to install the package “xubuntu-desktop”. This will give you a whole lot more than what you get with the first method. The install command runs a lot longer but you have fewer things to install afterwards.
- More stuff by default - easier
- Less flexible - lots of stuff just installed by default
- X Windows starts automatically - login with XDM
- Slower install
Here is how you istall it. Ther are still only two commands needed to install the actual desktop system. We’re just installing a different package.
sudo apt-get update
sudo apt-get install -y xubuntu-desktop
The install command took me a little over 12 minutes. Thats a lot longer than the other method but still not bad.
What You Get
- Graphical Text editor
- Nice terminal app
- Web browser
- Office Suite
- Media player and a ton of other stuff
XDM
The most significant thing that you will notice with this install method is that X Windows starts automatically because XDM is installed and running. This won’t happen until after you reboot.
Wallpaper
Once you have logged in, the first thing a lot of people do is change the wallpaper to something other than the default. You will also notice that the xubuntu-desktop package comes with a bunch of wallpapers by default. This is your first indication that you are getting more out of the box.
Web Browsers
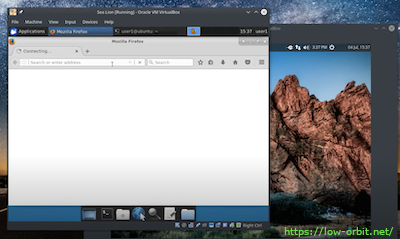
You will notice that you get a bunch of stuff already installed. You get FireFox installed by default so you don’t have to worry about a web browser unless you want something else like Chrome. If you do want Chrome, you still have to install it. Just use the instructions for Chrome from Method 1 above.
Office
This method comes with Libre Office installed by default so you won’t have to install that if you want an office suite.
Basics
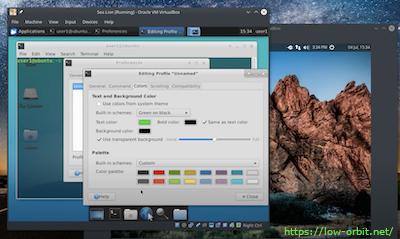
It also, of course comes with the absolute basics like a nice terminal and a graphical text editor. You get XFCE Terminal with the option for transparencies but no Gnome Terminal. This is fine because XFCE Terminal is pretty much just as good. You also get the Mouse Pad text editor but no Gedit. This is also fine unless you really like Gedit and if you do, you can still install it separately.

